
Download DataMigrate Pro
Download the current version of DataMigrate Pro from AppSource in Business Central.
Configuration
Open the configuration page for DataMigrate Pro by searching for “DataMigrate Pro”.
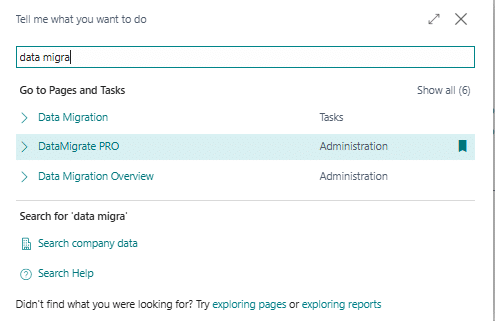
Now open the “Client Configuration” page.

Fill in the fields under Connection Information. You can enter the registration key below. If you need a registration key for testing, contact us.
Now close the “Client Configuration” page. Then click on the “NAV Source” menu item and configure the object IDs according to your requirements:

Now click the “Destination Tables” tile. This reads in the structure of the Business Central tables for the first time:

Then click on “Import Mapping from repository”. This reads in the source structure (standard mapping for the version you selected on the “Client Configuration” page):

Download of the required files
Create a folder on your PC / server in which the following files have to be stored.
- Under "Tasks", click the menu item "Download the DataMigrate PRO Client".
- Click on "NAV Source" and then on the "Export" button.
- Click "Client Configuration" and then the "Export Commands" button
Running DataMigrate Pro
The files you downloaded in the previous step must all be moved into the same folder on your machine / server, if that has not already happened:

Now import the file “NavisionObjectsNAVXXX” into the Object Designer of Navision / Dynamics NAV and compile it.
Start of the migration
- Run the file register.cmd (only necessary once).
- Run the file loadconfiguration.cmd (only necessary once if nothing has changed in the target structure)
- Run the following command in the command line tool or PowerShell. The data migration now starts:
DataMigratePro -t putalldata --tablegroup "1,2,3,4,5" --changesonly 1
Sascha Marquardt
Responsible for the partner programme, the licensing business and commercial project delivery.